


Overview
The Purchase Return module is used to record the return of goods to vendors after they have been received. It allows users to select a purchase order, specify the warehouse, enter return quantities, and record the reason for the return.
Navigation:
Inventory → Purchase Return
Purchase Return List
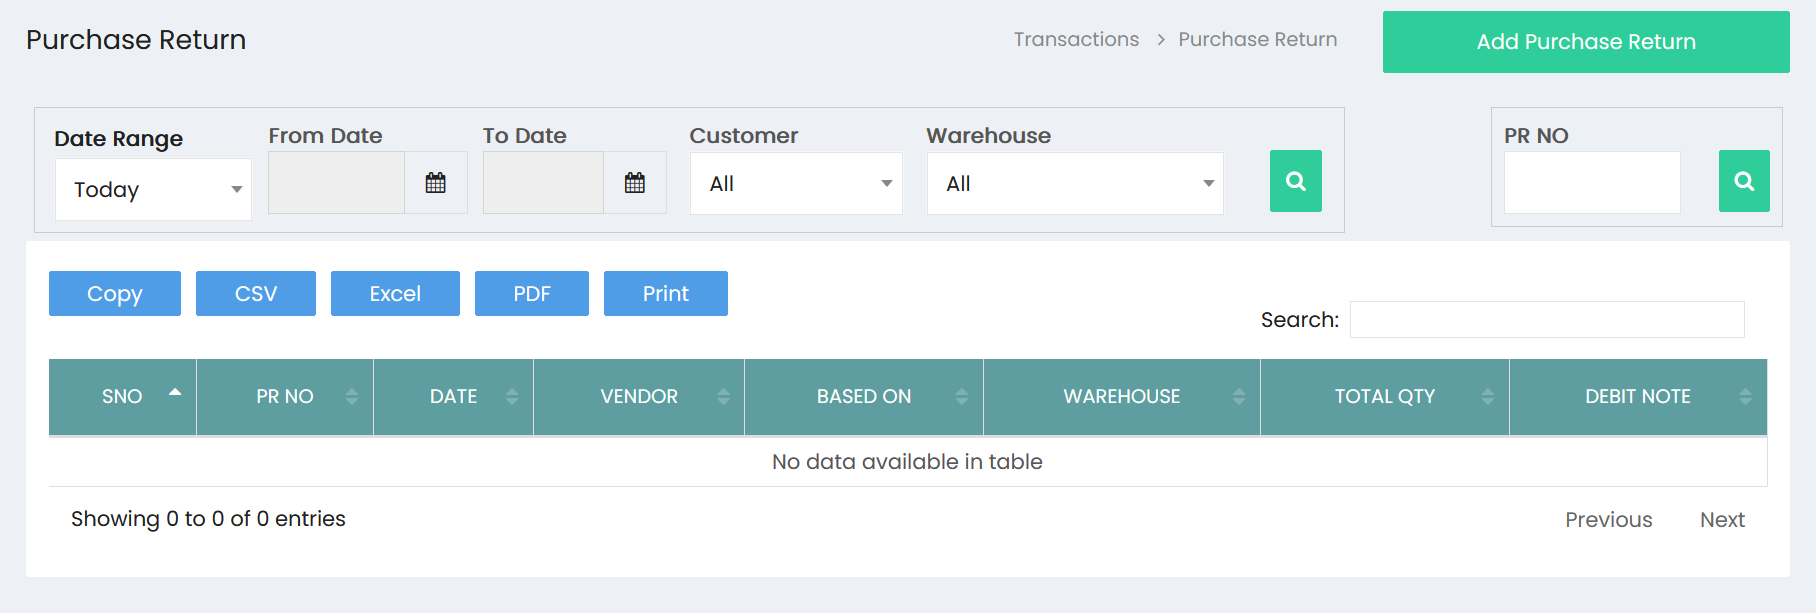
The Purchase Return page displays all purchase return transactions and provides options to search, filter, export, and print records.
Available Filters
Use the filters at the top of the page to locate purchase return records.
- Date Range
- From Date
- To Date
- Customer
- Warehouse
- PR No
After selecting the required filters, click the Search button.
Purchase Return List Information
Each record displays the following information:
- S.No
- PR No
- Date
- Vendor
- Based On
- Warehouse
- Total Qty
- Debit Note
Available Actions
The following options are available on the Purchase Return List page:
- Copy
- CSV Export
- Excel Export
- PDF Export
- Search
- Add Purchase Return
Creating a Purchase Return
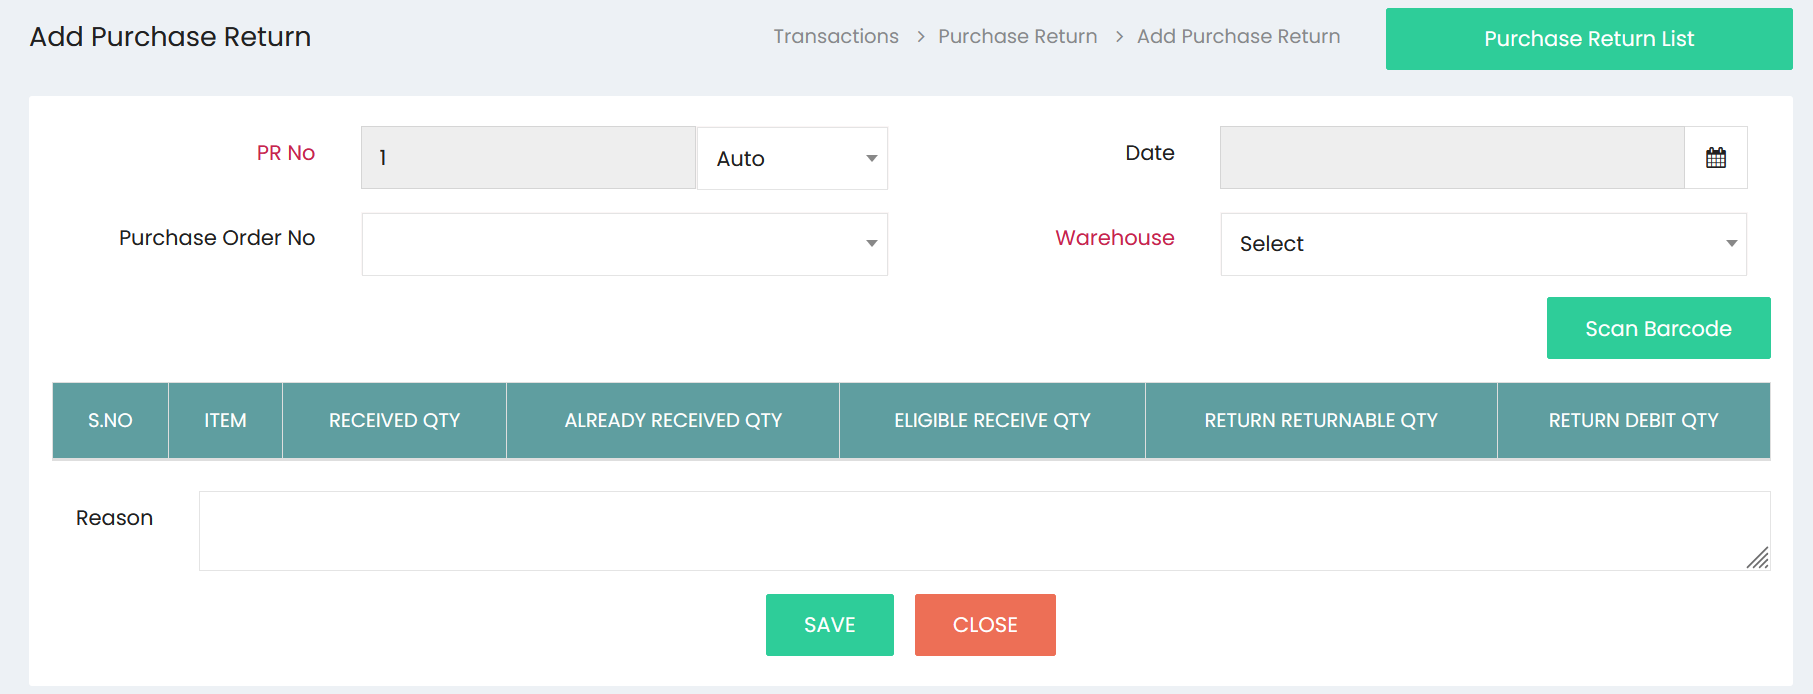
Click Add Purchase Return to create a new purchase return transaction.
Step 1: Enter Basic Information
Complete the purchase return details.
| Field | Description |
|---|---|
| PR No | Displays the Purchase Return number. |
| Numbering Type | Select the numbering method. |
| Date | Select the purchase return date. |
| Purchase Order No | Select the related purchase order. |
| Warehouse | Select the warehouse from which items are being returned. |
Step 2: Load Purchase Order Items
After selecting the purchase order, the system displays the available items.
The item grid includes:
- S.No
- Item
- Received Qty
- Already Received Qty
- Eligible Receive Qty
- Return Returnable Qty
- Return Debit Qty
Enter the quantity to be returned in the appropriate return quantity field.
Step 3: Barcode Scanning (Optional)
Click Scan Barcode to scan product barcodes while processing returns, if applicable.
Step 4: Enter Return Reason
Use the Reason field to record why the items are being returned to the vendor.
Step 5: Save the Purchase Return
After reviewing all information, click one of the available options:
- Save – Saves the Purchase Return.
- Close – Closes the screen without saving.